
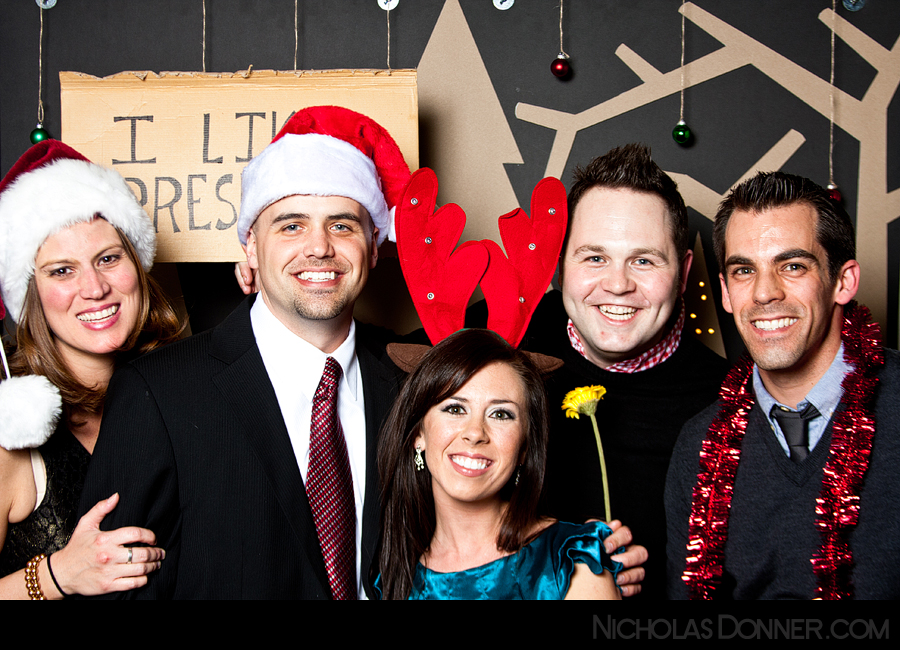


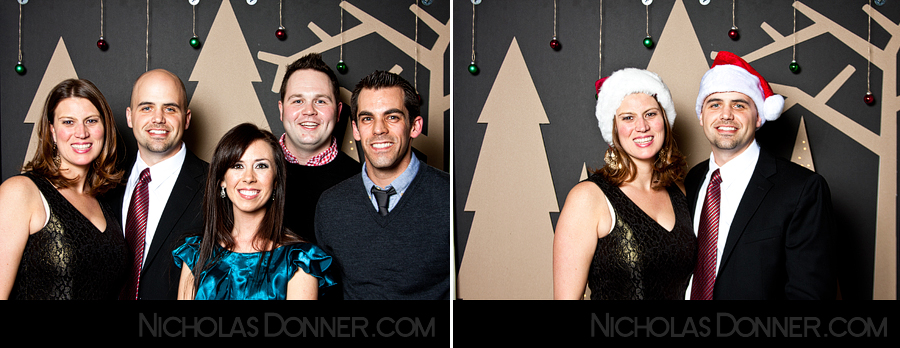


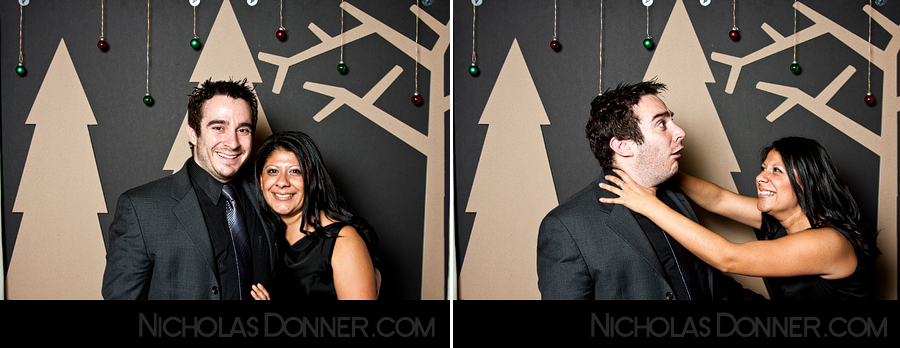
Before I get all technical on you I'm just going to say that this booth was the most fun one I've done yet. I knew it would be difficult to top the wall of presents from last year, so I scaled down the complexity of the background (although all the spray-mounting, x-acto cutting and lighting took longer than I thought it would) and focussed on making it a better user experience. Focus was faster, lighting was better and faster, and prints were provided. Surprisingly, last year's post was one of my most read and most googled so I'm going to talk a little about the set up because clearly people are interested.
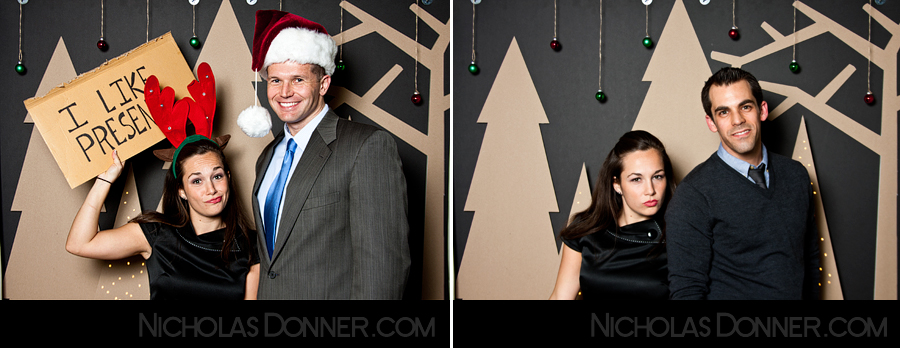
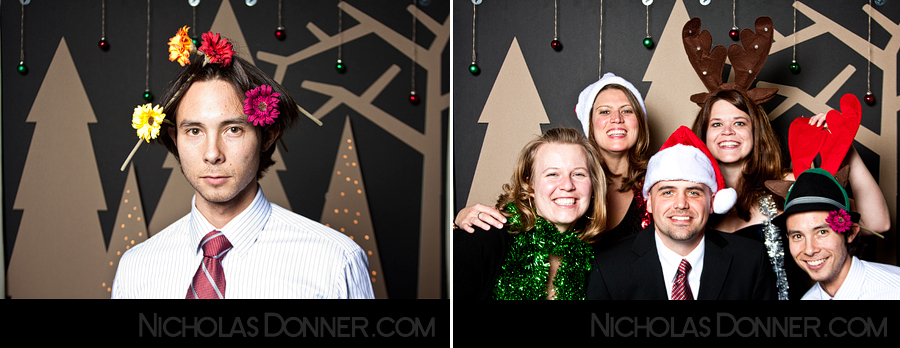
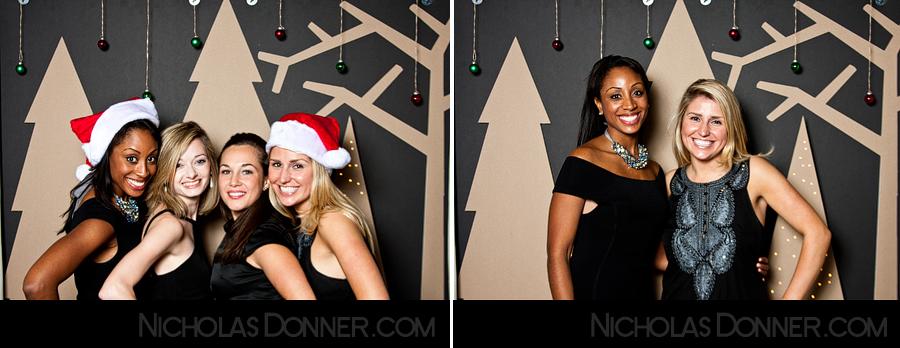
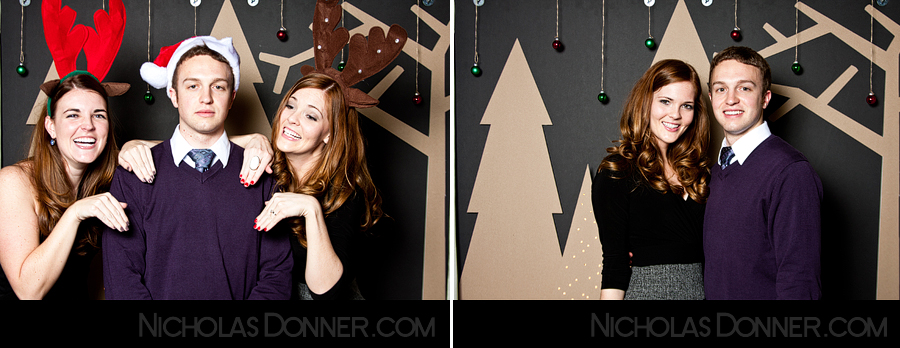
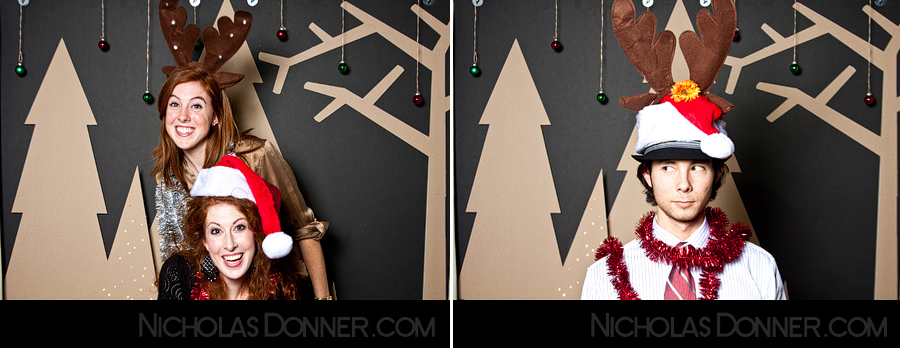
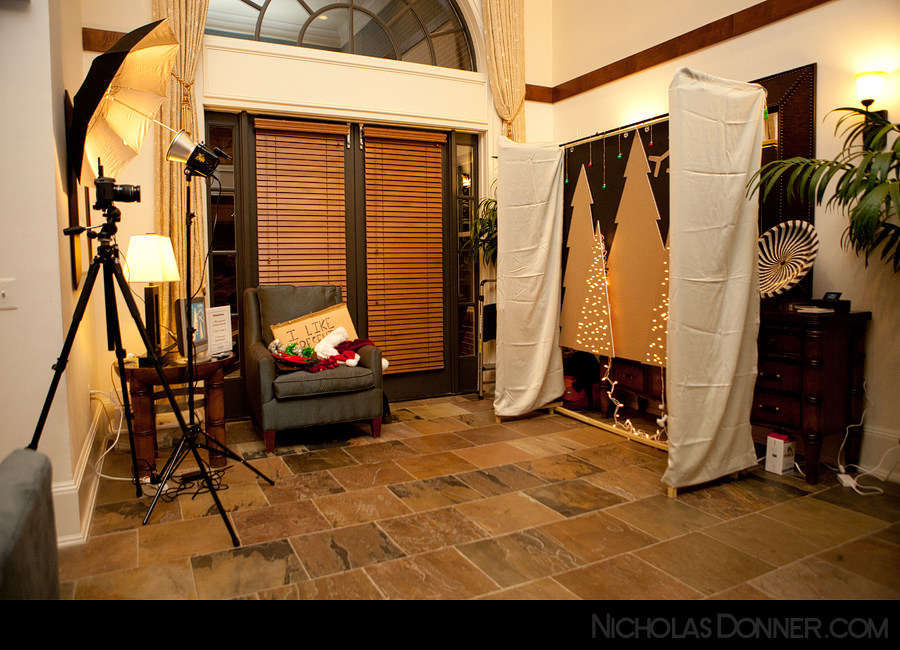
The actual booth is not as much a booth as it is a background stand. It's made of wood and the backgrounds I make have to be fairly light to be hung on the frame. This year I used big sheets of foam core, mounted kraft paper to them and cut the shapes out. Some of the trees I drilled holes to poke mini lights through. I wish this was a totally original idea but I borrowed most of it from J Crew window displays.
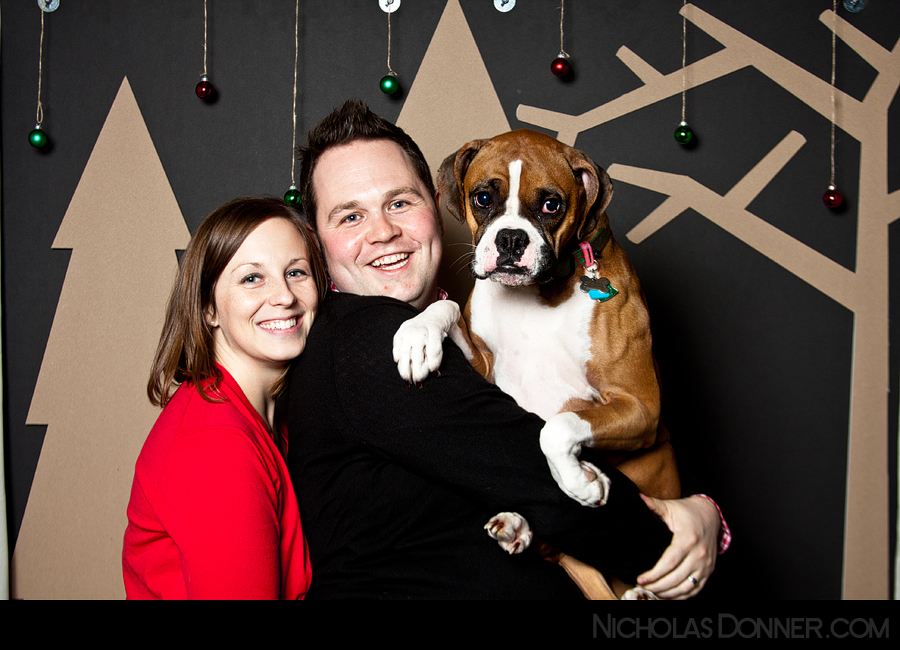
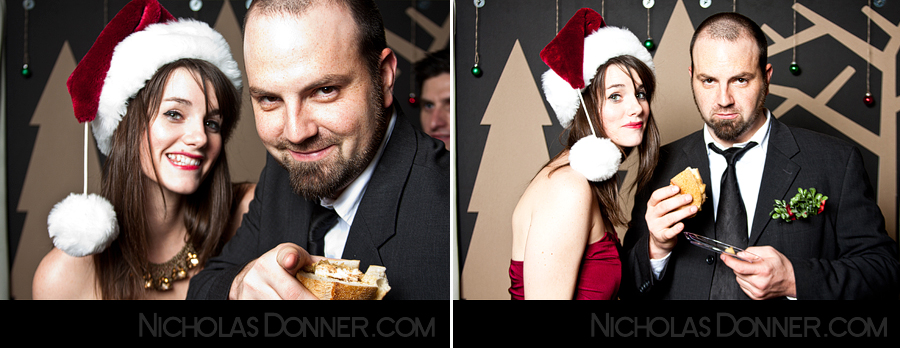
The camera is set to manual at f/5.6 and 1/100 sec. The shutter has to be fast enough to catch people if they are moving and the aperture has to be wide enough that everyone in a group is in focus. I set the flash to make up for the smaller aperture and faster shutter speed. In previous versions of the booth I used two Canon Speedlights and umbrellas. This year I switched to one regular studio strobe (with a silver umbrella) centered above the camera. I did this because the strobe has more power and a faster recycle time. With one speedlight I would have to crank it up to 1/2 power or full power and the battery would drain quickly and it would need a few seconds to recycle between flashes. With two speedlights, each could use half the power and recycle would be faster but I would have to place them on the right and left of the camera. In that situation, I would get weird shadow areas sometimes depending on where the subjects were standing. With one light right above the camera the subject could move right or left or closer or further away and the light would be relatively even. It would be brighter when they are closer and dimmer farther away but I don't think there is much you can do about that without physically changing the flash setting for every shot. I was able to compensate for distance in Lightroom by changing the exposure up or down a stop.
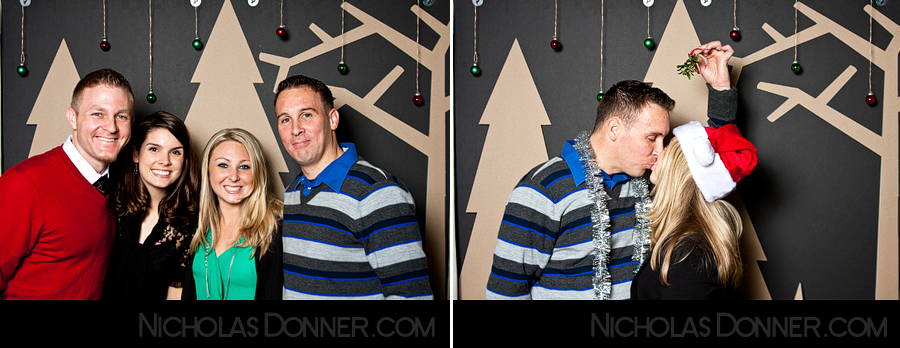
Things that didn't change: I still have a remote control so that guests can take the photos themselves and I can walk away and enjoy the party. I use a cheap Cowboy Studio wireless remote. I bought some of those newish Yongnuo radio triggers as a backup system too. Guests can view each photo on a monitor as they are taking them. I use the A/V out to RCA cable to connect the camera and monitor. And like last year, guests who have had 2 or more cocktails are 58% more willing to do the Macarena or something else awesome in front of the camera. So I still encourage that.
This year the real game changer was printing photos as I went. I had looked into it before but always found that the real photo printers were in the $2000-3000 range. There was no way I could make my money back on that without booking the photo booth every weekend for the next year. But last week a photographer friend introduced me to Canon's mini photo printers which come in under $100 and made printing much more reasonable from a cost perspective. They aren't super fast—about 60 seconds for a 4x6—but waiting a minute for a photo seems fast when you aren't expecting an instant print.
So, that's how it works! Any questions?
Any questions?! How awesome is this?!
ReplyDeleteAnswer: Very! So money.
This is a great post! So helpful and I like that you added printing.
ReplyDeletei love these.. the shots are super clean and the background is awesome
ReplyDeleteHow did you hang the lighted foam board trees on the backdrop?
ReplyDeleteSpray mounted, with foam blocks to add depth
ReplyDelete